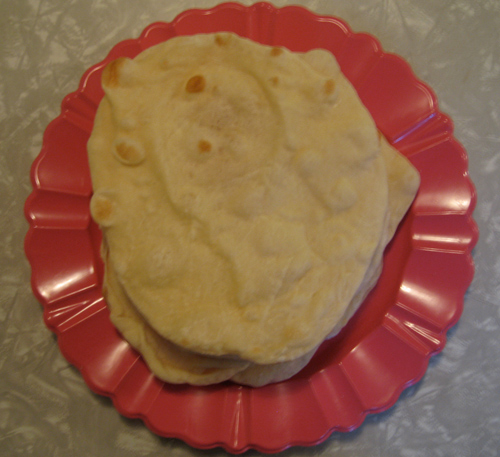
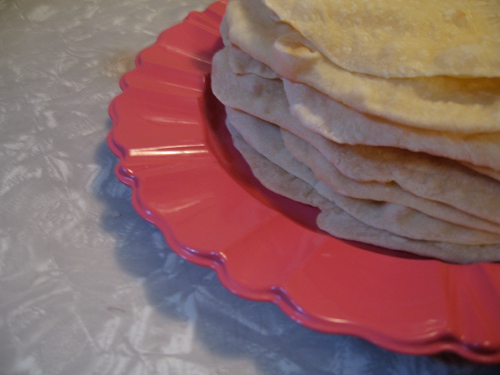
My pita bread has a mind of its own. It decided to bubble up all over the place and not just in the center. Next time I’m hoping they get the perfect pocket.
I guess this time they are just trying out a new style. They want to be pita bread with a million cargo pockets. Who I am I to judge some fashion forward pita bread?

Despite the lack of perfectly centered pockets, these guys are delicious. I just might be looking forward to my pita sandwich in tomorrow’s lunch already.

Pita Bread
Recipe from The Fannie Farmer Baking Book
Ingredients:
- 1 package dry yeast
- 1 1/2 cups warm water
- 2 t salt
- 1 T canola oil
- 3 1/2 – 4 cups all purpose flour
Directions:
- Sprinkle yeast over warm water in a large bowl and let stand a few minutes to dissolve. When dissolved, add the salt, oil and 2 cups of the flour. Beat until the mixture is smooth. Gradually add enough of the remaining flour to make a manageable dough, then turn out onto a lightly floured surface.
- Knead the dough for about 10 – 12 minutes*, sprinkling on more flour as necessary to keep it from being too sticky. Continue kneading until it is smooth and elastic. Place in a large greased bowl, cover with a towel and let rise in a warm place until double in bulk (1-2 hours).
- Turn the dough out onto a floured surface and shape into a long, ropelike cylinder. Cut into twelve equal sections. Form each section into a smooth round about the size of a golf ball by gently pulling the sides down and pinching them together where they meet at the bottom. Set the balls aside on a floured surface and cover with a towel. Allow to rest for about 5 minutes.
- Use a rolling pin to roll each ball into a flat, pancake like disk about 6 inches across and less than 1/4 inch thick. As they are formed, set the disks aside on a floured surface and cover lightly with a towel. Don’t let them touch. Allow to rest for about 2o minutes before baking. These are baked in relays like cookies, depending on your oven setup. I cooked one at a time.
- In the meantime, preheat the oven to 500 degrees F and line the rack with a baking stone or tiles. (I used my pizza stone.) If you don’t have cooking tiles or a stone you can use a large iron skillet or iron griddle in the oven. The pita must be baked on a hot surface to obtain the maximum puff.
- Open the oven door and gently toss as many pita on the hot baking surface as will fit comfortably — they should not touch. You may be able to fit as many as six; if you are using a skillet or stone you might only have room for 1 or 2 at a time. Don’t open the door for 1 minute, then take a look. The disks will have puffed into high, rounded domes. Bake for 2 minutes in all, then remove them with a spatula and transfer to racks to cool; they will gradually deflate. Bake the remaining pita the same way.
- When completely cool, stack them and press down gently to remove the air. Store in tightly closed plastic bags in the refrigerator. Freeze if you plan to keep them longer than 2 days.
Recipe makes twelve 6-inch pitas. Mine made 11 of varying sizes around 6 inches. I’m hoping to have a kitchen scale someday so I can ensure then that they’ll be equal in size.
* I kneaded mine for a fraction of the 10-12 minutes … making sure that when I was done it was compact and elastic.